If you’ve added Advanced Custom Fields for use in your WooCommerce products, you may want to expose them through the WordPress API. This tutorial will show you how to do that.
Creating Advanced Custom Fields
If you haven’t already done so, download and install Advanced Custom Fields.
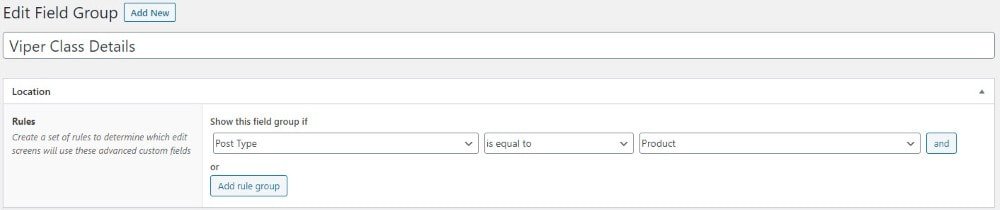
Create a new Field Group. Name it whatever you want, and associate it with a Post Type of “Product:”
Now it’s time to create the actual fields. Let’s use the scenario of selling digital and on-premises courses through WooCommerce.
Start by adding four custom fields:
Start Date
- Field Label: Start Date
- Field Name: start_date
- Field Type: Date Picker
- Display Format: m/d/Y
- Return Format: Ymd
End Date
- Field Label: End Date
- Field Name: end_date
- Field Type: Date Picker
- Display Format: m/d/Y
- Return Format: Ymd
Number of Sessions
- Field Label: Number of Sessions
- Field Name: number_of_sessions
- Field Type: Number
- Default Value: 1
Hours of Instruction
- Field Label: Hours of Instruction
- Field Name: hours_of_instruction
- Field Type: Number
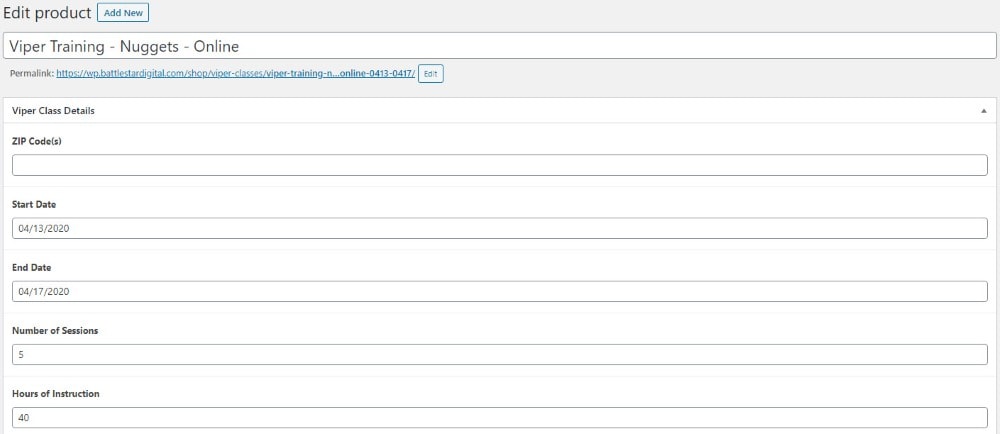
Your page should look similar to the image below, although you’ll note that I have additional custom fields. They are not necessary for this tutorial.

Save your changes.
Add Fields to Your Product
Then, edit a product. I’ll select one of the Viper Classes from our test site. Set the following values:
- Start Date: 04/13/2020
- End Date: 04/17/2020
- Number of Sessions: 5
- Hours of Instruction: 40
Save your changes.
Register Advanced Custom Fields with the WordPress API
Now, let’s add the fields to the API. Copy the following code into your functions.php file:
Save your changes and upload your functions.php file to your site.
Testing the API
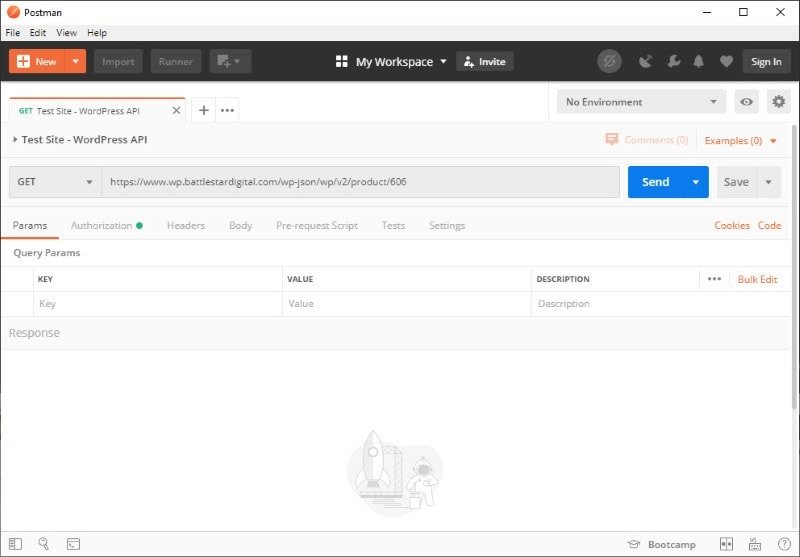
Let’s use Postman to test our API.
Create a new GET request to https://www.your-site.com/wp-json/wp/v2/product/606. Replace www.your-site.com with yours, and select a product number from your installation.
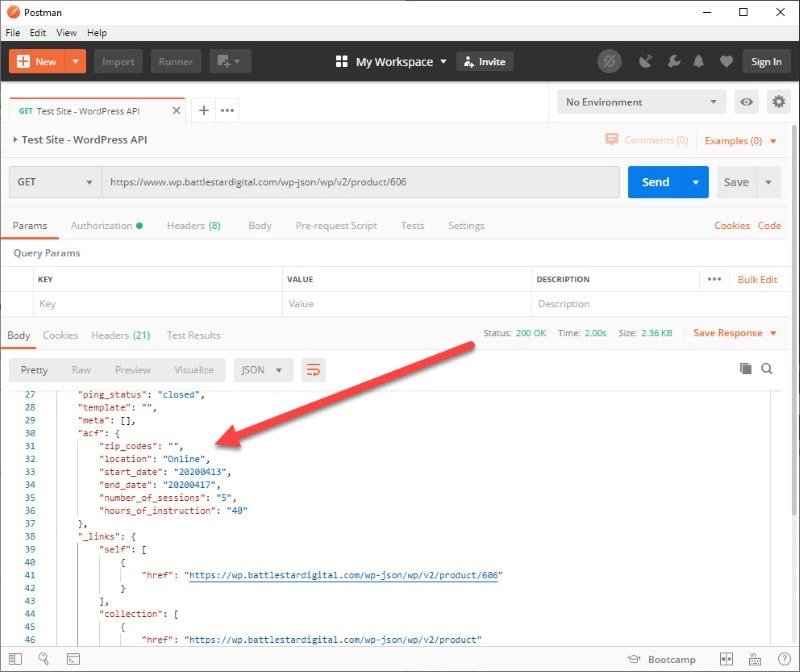
Click Send. You should see an array named “acf” with your custom fields. It should look something like the image below (be sure to set your Body Format to “Pretty”):
Wrapping Up
Adding Advanced Custom Fields to the WordPress API response can help with a number of use cases. One of our clients created a Zapier integration between WooCommerce and Google Sheets that fired every time a course was purchased, adding sales information — including data from Advanced Custom Fields — to the Drive Sheet for their operations team.
What use cases do you have?